The core of the Hubble Space Telescope (HST) Mission’s contract with the public is to create and disseminate press and photo releases covering scientific results made from studies using HST to advance knowledge of the universe. Such release packages typically include informational text, images, illustrations, animations, video interviews, and supplemental background information. The press packages, disseminated by media, are also core content cascaded to outreach and informal as well as formal education programs. The fundamental item representing astrophysical discoveries, though, is the imagery. This is due to the fact that astronomy is essentially a visual science, and scientists routinely present their data in visually appealing formats for the public to enjoy and perhaps be inspired by. However, making such astronomical imagery accessible to those who are blind or visually impaired (BVI) has been a long-standing challenge, yet such individuals can and should have an opportunity to explore, discover, learn about, and contribute to astronomy and science in general.
The 3DAstronomy team has created an innovative and unique process to transform astronomical data into tactile objects. Initially we were able to represent the major features of an HST image with individual textures. Further, we depict the relative brightness of objects in an image with the 3D print format. Before such products can be distributed broadly however, we need to understand if the textures can be discerned by individuals with BVI and a wide range of experience, that is, if textures are distinguishable, seem unique, and convey some of the complexity of HST imagery. Our goal in the long term is to integrate the 3D print products in press packages as well as the ancillary outreach and education programs to inspire, engage and create public understanding of the science by all people.
We cannot hope to accomplish the long term goals or create and collaborate on meaningful future programs if the products are not usable or robust at the outset. Our product testing involves providing sample products to BVI (and sighted) volunteers for comment. We have been invited to present our 3D prints in a variety of settings - at science museums, at schools for the blind, at National Federation of the Blind conferences and events. The individuals who provide feedback range in age from 10 to 90 years of age. The set-up of our activity is usually a small table where people are present at the target venue and are attending other events or exhibitions voluntarily. They are free to handle our prints if they wish to and they may comment or not.
If they offer to provide feedback, we tabulate the comments to establish if our 3D prints are conveying astronomical information, are usable, and have the characteristics mentioned above that make them viable in future settings and programs. We will summarize the results, without identifying individuals by anonymizing the feedback and then using the results to improve our production process.
Printing
The tactile prints of HST data were created as part of a program to represent HST imagery and scientific data with textures assigned according to features in the data (stars, gas, dust, filaments, galaxy central core and black hole. More data was subsequently added including JWST observations and data from other astronomical observatories and space missions.
The Star Clusters
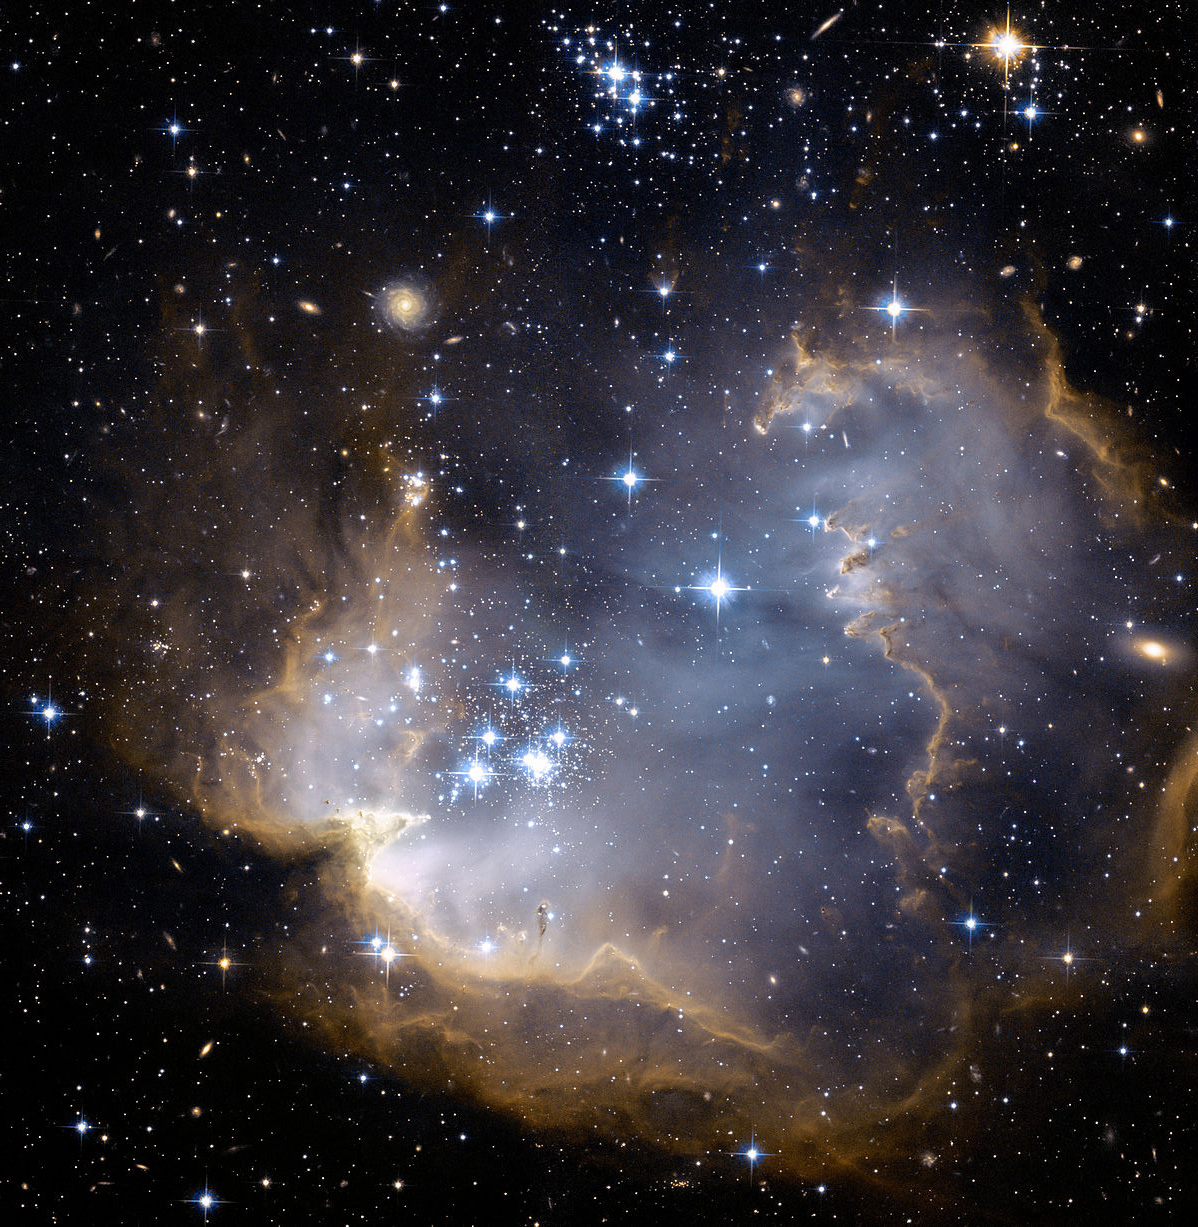
Our original suite of data originated from an observing proposal to study the structure of young star clusters. The star clusters (Westerlund 2 and NGC602 to name a few) were observed with HST and images were produced for public distribution. The cluster Westerlund 2, was our primary target of interest, and also was the hallmark object showcased in the 25th anniversary of HST. However the study of NGC602 predated our observations of Westerlund 2, and it was the best candidate for producing 3D prints, since the structure and astrophysics of the cluster are well known as seen in a literature search.. This cluster, NGC 602, was then used as the first object for which we applied the best textures identified in our early study of 3D print textures for our program (Grice, N, Christian, C., Nota, A. and Greenfield, P. 2015) . Once testing had been done, we applied our 3D print methods to the new data obtained with HST for Westerlund 2, as showcased in the 25th anniversary Press Release for HST.
Data for several star clusters are available in Gallery 1: Westerlund 2 and NGC602 images are shown here..
Westerlund 2: This star cluster is actually a double cluster, emerging from the clouds of gas and dust (the nebula is called Gum 29) where it originated. It is approximately 20,000 LY away or 6000pc. It is about 2 million years old.
NG602: this cluster is the in Small Magellanic Cloud, a companion galaxy to our Milky Way. It is about 4 million years old.
The Galaxies
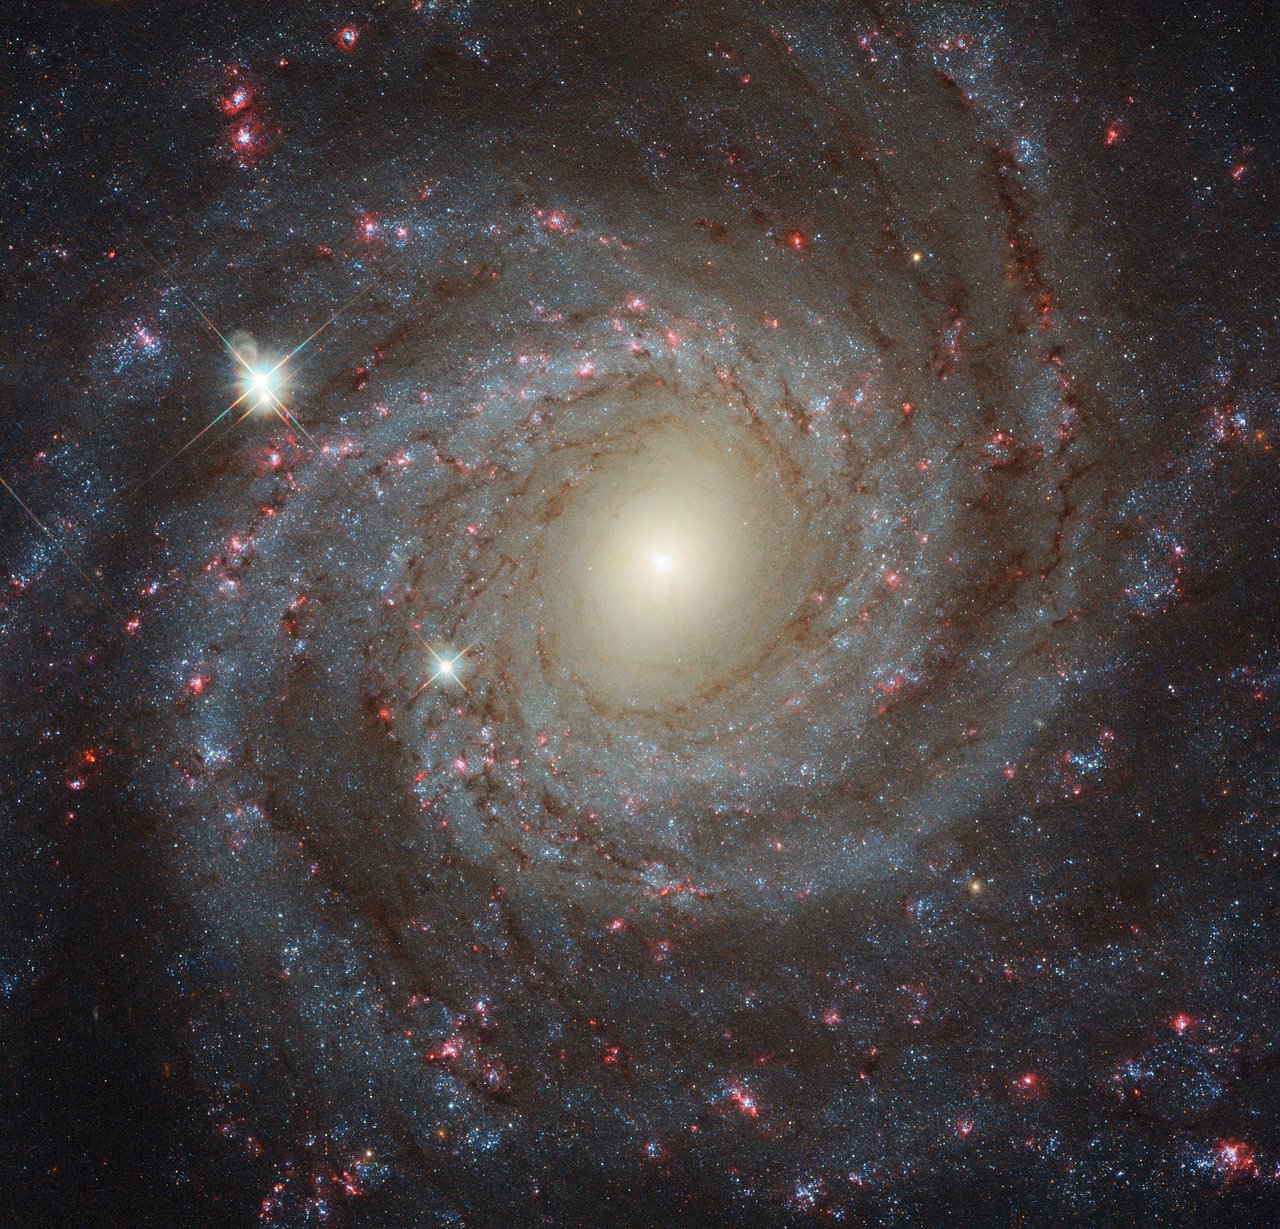
The first STL files produced are associated with galaxies from the HST LEGUS multi-treasury program, a survey of 50 nearby galaxies, that is: LEGUS (Legacy ExtraGalactic UV Survey) is a Treasury Program that has imaged 50 local (closer than 12 Mpc) galaxies in multiple colours with the HST Wide Field Camera 3 (WFC3) and the Advanced Camera for Surveys ACS. Because of the proximity of all targets to us, the galaxies are resolved into their main components: stars, star clusters, and associations.
LEGUS https://legus.stsci.edu
Data for several galaxies are available: here are two examples. More are found in the gallery with the print files.
NGC1566: This spiral galaxy has relatively open spiral arms with gas, dust and numerous star clusters.
NGC3344: this galaxy is a tightly wound spiral galaxy with poorly defines spiral arms and numerous spiral spurs.
Our "Standard" Textures:
The 3D prints production uses the intensity of light in the images to assist in delineating the features of the objects. Intensity provides the 3rd dimension in the print, where the first two dimensions are the spatial dimensions on the sky. In public releases of the data, the images are processed using the individual observations taken through specific filters. For science analysis, the individual observations are used as scientific diagnostics of the astrophysics of the object such as emission from specific chemicals, temperature of stars, etc. For the public imagery, the individual filter data is combined in a color image to demonstrate the physics and the individual features of the object. We use textures to delineate features seen in the public images: dust, gas, filaments, stars, etc. Note that we use an automated software package, called astro3d, for assigning the textures using the observed intensity of the data from the object and catalogs of stars and clusters provided by the researchers. We touch up the features based on deeper analysis and understand of the scientific nature of the object aquired through study and expertise. This process requires experienced scientific analysis and detailed astronomical knowledge to understand the features detected in the data. Note that it is also possible to create similar 3D prints by using a "relief intensity" model of the astronomical object as an stl file, creating the desired textures in a program such as Photoshop, and then mapping the texture image onto the stl file with a program such as Blender.
For star clusters, the features are assigned textures based on the scientific analysis of the observed data.
Star cluster features include:
Star - a cylinder with a concave top. The positions of the stars are measured with automated scientific software by the research team. The positions can be augmented by hand for completeness.
Gas - a soft stipple texture represening gaseous material.
Dust - typically darker regions as it is not luminous material. This texture is a rough stipple.
Filament - this texture is assigned to narrow, stringy edges to the otherwise luminous material, delineating n edge material, or a shock front.
For the galaxies the intensity of in the image is used as a surrogate for mass. This is not strictly accurate, but we do not have 3-dimensional data for any distant galaxies. During the processing to create the 3D file, the intensity profile is reflected around the disk plane, so it is symmetric. Again, we cannot detect the "far side" of a galaxy, so this is the best we can do to model the structure of the galaxy. Note that bright foreground stars are removed by hand, via the user interface.
Galaxy features include:
Central cusp - a cylinder with a concave top. Central cusps are very bright in galaxies and usually harbor star clusters and usually a supermassive black hole. In imagery the central cusp is extremely bright and therefore truncated during processing so as not to flatten the rest of the structure.
Central bulge - a bright region surrounding the core. The texture for this region is a raised line structure
Spiral arms - are depicted both through an automated process that assigns the brightest region the spiral texture as well as some hand tuning by scientists if their analysis indicates the spiral arms continue in dark regions (known, for example, through analysis of red and infrared light) . This texture is a rough stipple.
Dust - this texture is assigned to the lower level of the galaxy intensity (about 50% brightness or lower intensity in the image). This texture is a softer stipple.
Star clusters - the clusters have been analyzed through both automated algorithms and visual inspection. The texture for clusters are 3 concave topped cylinders. The height of the texture reflects intensity as does the size of the circular features.
Printing:
On the relatively inexpensive Makerbot, an Ultimaker 3 or the quite affordable Creality Ender Printer we normally use 1.75 mm PLA (Polylactic Acid) filament in the Makerbot and the Creality Ender Printer. The Ultimaker primary nozzle is sometimes used with a 2.85 mm PLA which appears to result in a slightly smoother surface. To print the star clusters and galaxies we typically split the prints in two and glue the pieces together after printing. This allows the final prints to be an optimal size (roughly the size of a standard piece of paper). The size of the prints is derived from considerable testing by ourselves and research by organizations such as the National Federation of the Blind, that indicate that objects up to the size of two hand spans are discernible to individuals with BVI. Whole prints can be fabricated as one piece on large printers. Smaller whole prints can be used for individuals with smaller hands, sighted individuals, and other uses. For a print split in half, say Westerlund 2, the X width is 180mm to 200mm so long as the Z height does not exceed that of the printer (the Westerludn 2 half prints are about 140 mm in the Z direction with an X size of 180mm).
Initially, the Makerbot was used with the Makerbot Desktop software which ingests the model stl file and prepares it through a process called "slicing", producing a file that is compatible with the printer. The same process is used for any printer, including the Ultimaker 3 and the Creality Ender Pro that we eventually used. Cura or the Simplyfy 3D software also can prepare files for the Makerbot, Ultimaker, or Ender Pro. Note that the Makerbot Desktop is no longer supported, being replaced by Makebot Print. At this time Cura or Simplify 3D appear more straigthforward to use for all 3 printers. The slicing software allows the user to adjust the size and orientation of the object. If needed, supports, including a base platform, can be specified to stabilize the print on the print platform. In our case, the prints are often printed vertically, especially in the case of the two sided galaxies, so support to stabilize the prints during printing is required. We typically used the standard supports that come with the software, as it was not necessary to use any unusual treatment to print the files. For the Makerbot Desktop software, a sample series of parameters is in the MakerbotParameters file. This also has the advantage that it is not necessary for anyone who wishes to obtain the print files from our distribution sites to also learn about tricky print techniques.
To print parts 1 and 2, or if desired, the object in one part, each stl file is opened in Simplify 3D, the Makerbot software, Cura, or other 3D print slicer software. Using the software interface, the stl file can be rotated either wide side down, that is the side that will be joined with the other half, or thin (top) side down. If the printer bed is flat, it is easier to make the prints without much or any support. If the print is made with the thin, top side on the printer bed, the printer will create a flat surface that joins more smoothly. However such a print is not stable on the printer and needs considerable support.
ONE half of a print (part 1 or part 2) can take up to 20 hours to complete.
Joining the two halves:
At the edge of the galaxy data,we originally added more material for stability and then added a thin trough in between the thick outer shelf and the galaxy data. The trough would allow the excess material to be cracked off and removed with thicker border material. If this method is used, the edges of the galaxy may need to be sanded or cleaned in some manner. The two halves are then joined with glue and the edges sanded or polished if desired and the print appears to rough to handle (sanding can be time consuming).
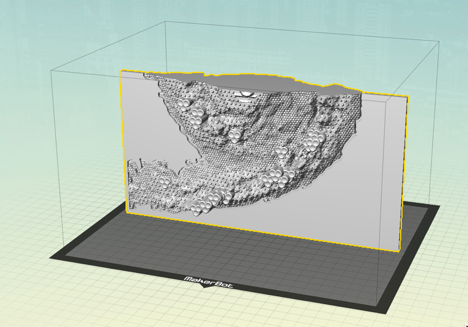
Figure: Half of NGC 1566 on the Makerbot stage, thin side down, prepared for printing.

 Westerlund 2
 NG602
NG602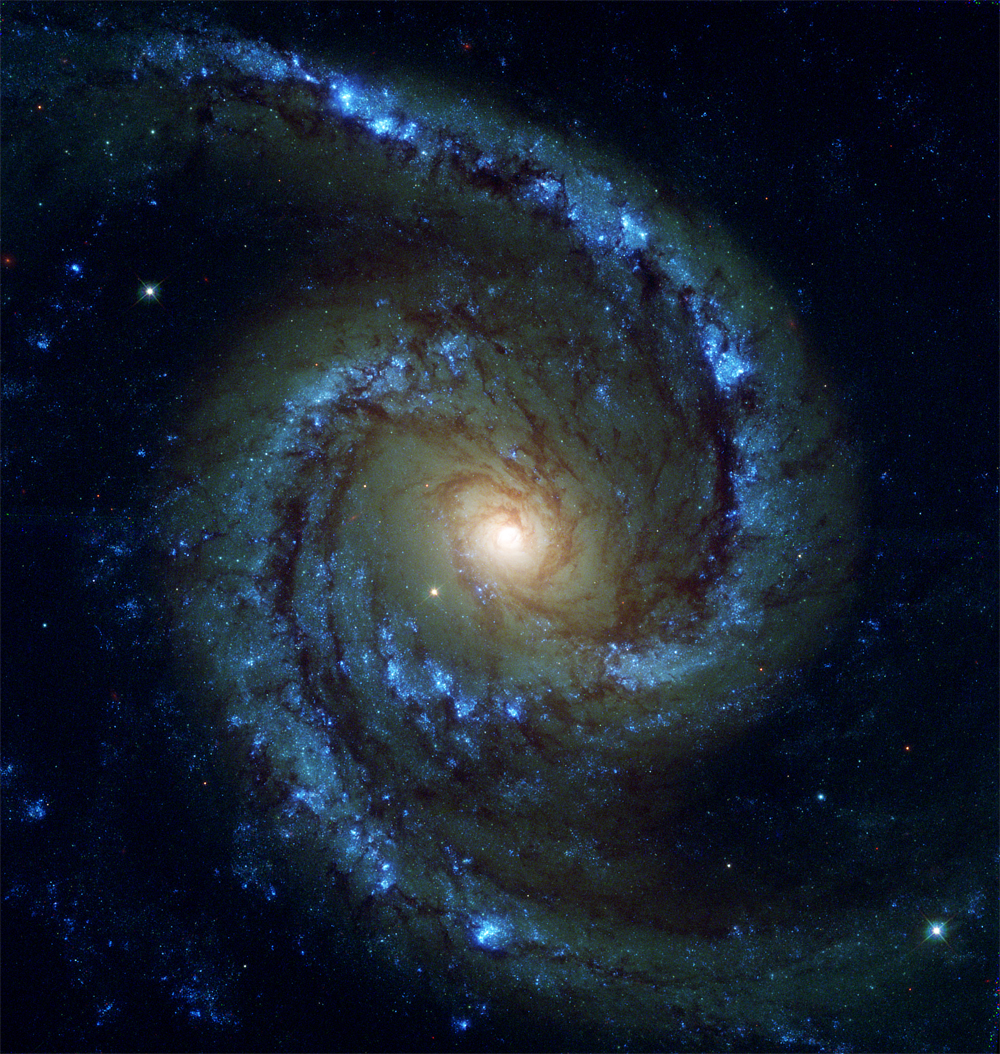 NGC1566
 NGC3344